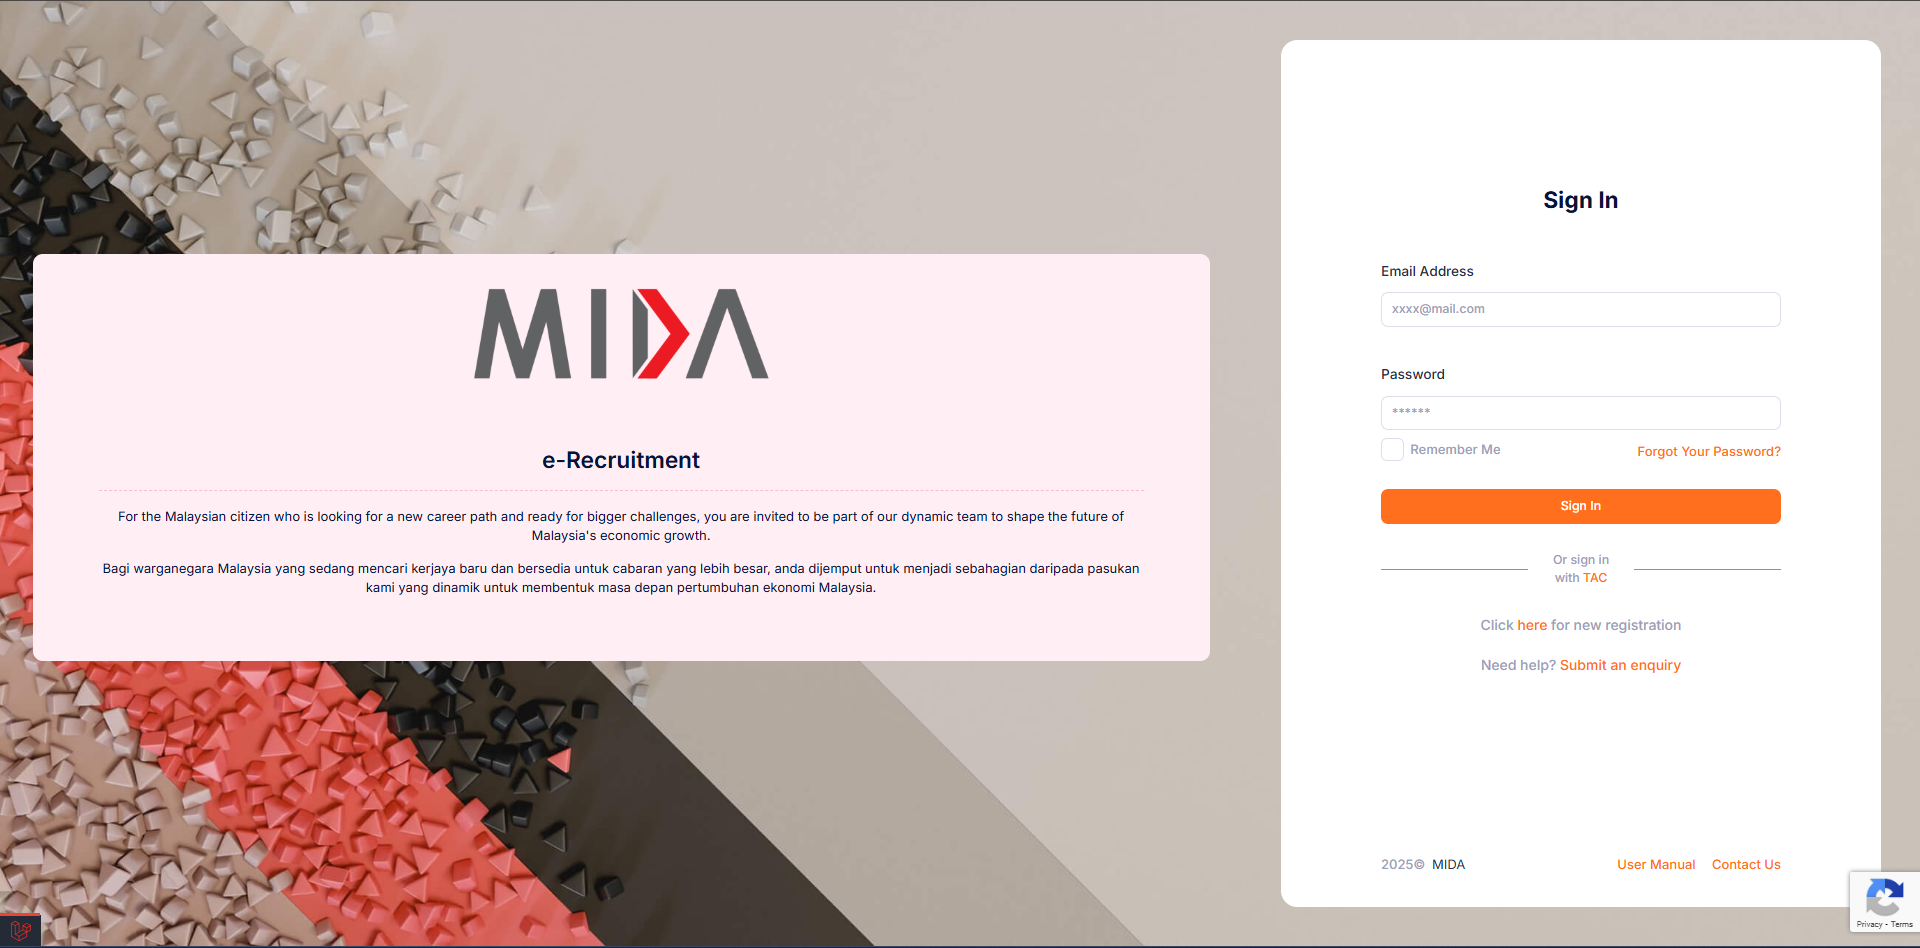
E-Jawatan 2.0 User Manual

Step-by-step walkthrough of the applicant experience, enriched with annotated screenshots that live in public/UserManual. Use this page to help applicants understand every screen before they start.

Getting Started & Authentication

Covers how applicants register, sign in, request a TAC, and raise enquiries before logging in.

Applicant Login

Use your email address / NRIC combination to sign in from the primary login screen.

  • Complete the email and password fields. The remember-me checkbox is safe for private devices only.
  • Each login attempt is protected by Google reCAPTCHA. Wait for the verification token to finish before sending the form.
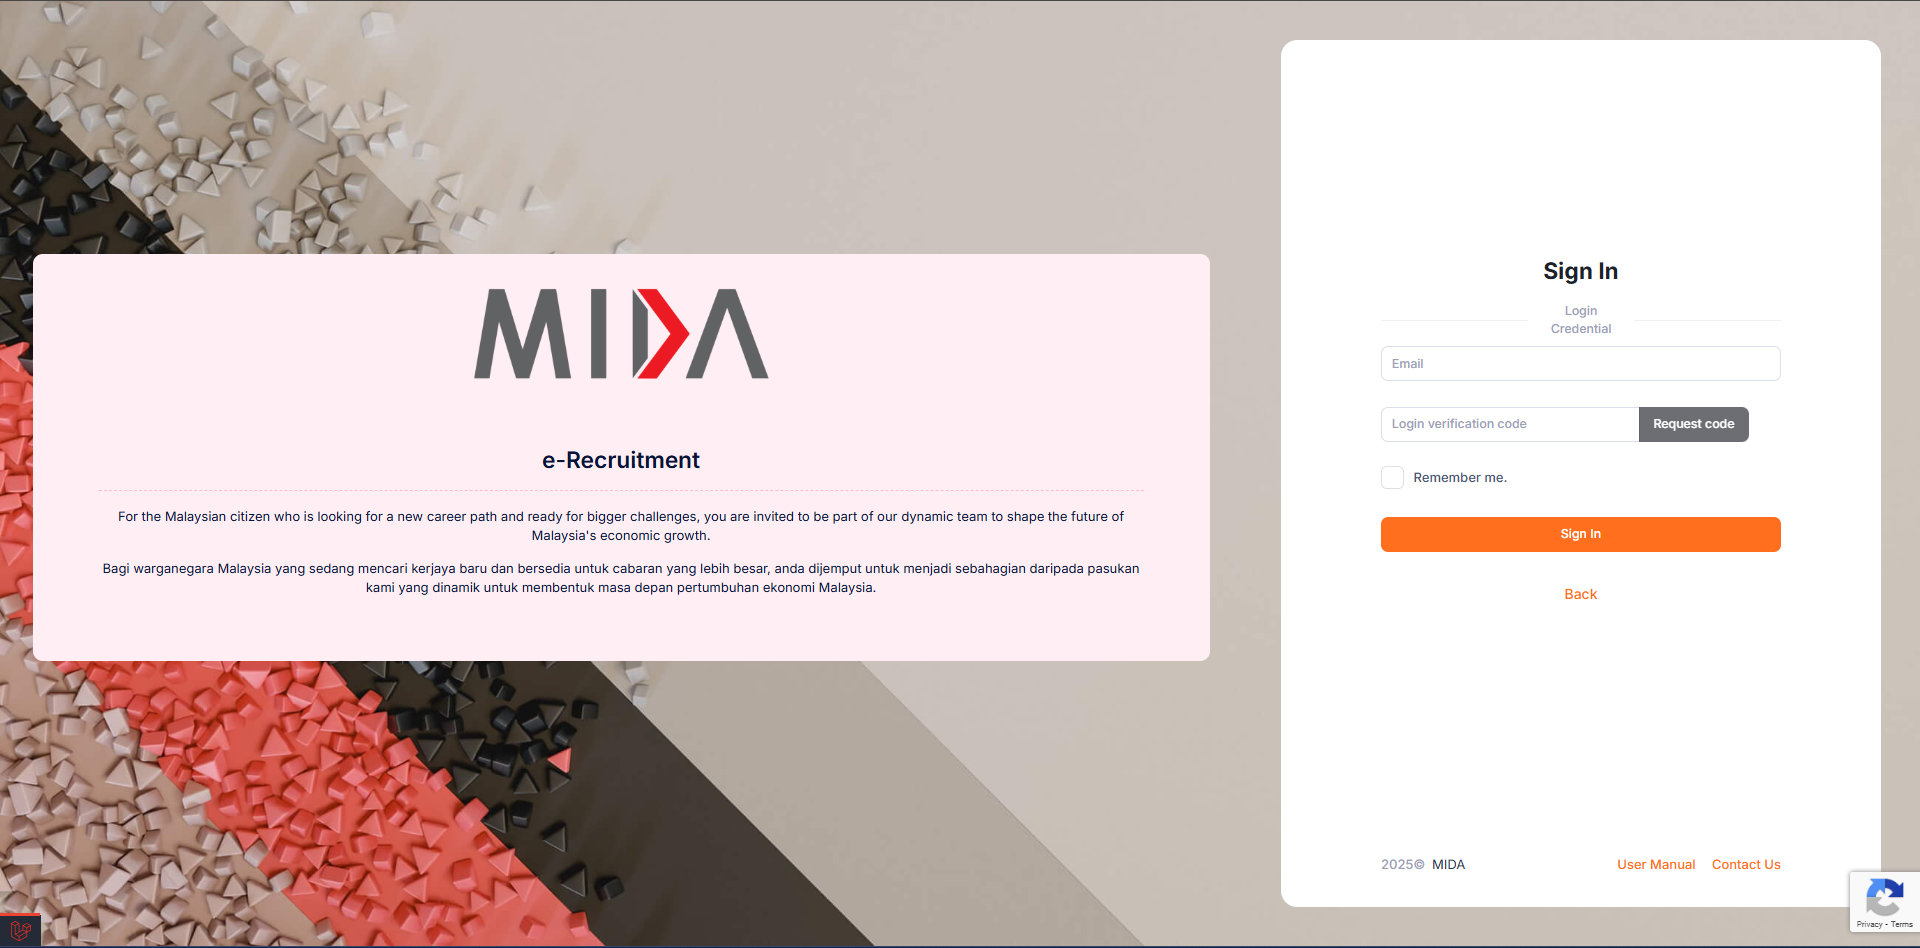
  • The TAC button jumps directly to the passwordless login flow described in the next section.
Tip: If you cannot remember the password, click "Forgot Your Password?" to trigger the standard reset email.
Applicant Login screenshot

Login with TAC (Transaction Authorization Code)

Use TAC whenever a temporary login is required or when multi-factor verification is enforced.

  • Enter the email used for registration. Click "Request TAC" to receive a six digit code.
  • Codes are throttled in RestController@code_request. Wait five minutes before sending another request.
  • Submit the TAC to finish authentication. The code expires after 10 minutes or after a successful login.
Tip: Whitelist [email protected] to avoid spam filtering the TAC email.
Login with TAC (Transaction Authorization Code) screenshot

New Registration

Prospective applicants create their e-Jawatan account through the registration screen.

  • Complete personal information, contact details, and create a secure password that follows the on-screen policy.
  • Accept the terms and conditions before submitting.
  • After submission, verify your email address using the verification link that is automatically dispatched.
Tip: Use a personal email address that you can access on mobile to streamline TAC verification while travelling.
New Registration screenshot

Enquiry & Feedback

Applicants can raise issues without logging in by submitting the enquiry form.

  • Pick an enquiry category and describe your issue. Fields marked with an asterisk are mandatory.
  • Attach supporting documents if required (PDF/JPG). The max file size follows the application config.
  • Submitted enquiries generate a reference number. Administrators can respond within the admin console.
Tip: Link the enquiry to a registered email so responses reach the inbox and the in-app notification center.
Enquiry & Feedback screenshot

Applicant Dashboard

After logging in, the dashboard highlights the application status, reminders, and shortcuts.

Dashboard Overview

Monitor pending actions, draft applications, and HR announcements right after signing in.

  • Widgets on the top row summarise application progress, outstanding tasks, and unread notifications.
  • The reminder list shows deadlines for application submission and missing sections.
  • Use the quick links on the right-hand panel to continue forms, open notifications, or download submissions.
Tip: Check the dashboard before every submission to ensure no required documents or sections are missing.
Dashboard Overview screenshot

Application Form Wizard

Every applicant completes the multi-step wizard. Each card below corresponds to a section inside ApplicantController@form.

Position(s) Offered

Select up to the maximum allowed positions, rank preferences, and answer position-specific questions.

  • Search for an open position using keywords or filters. Selected posts appear in the table below.
  • Rank your choices if multiple positions are allowed. Drag to reorder or use the provided move actions.
  • Submit reasons or expected remuneration if the form configuration requires them.
Tip: The form enforces the limit configured in the Positions Offered settings. Remove unused posts before adding new ones.
Position(s) Offered screenshot

Personal Information

Capture demographic information, contact addresses, and identification numbers.

  • Fields are grouped by NRIC/passport data, residential & postal addresses, and basic demographic info.
  • The "Save & Next" button stores data through ApplicantController@store_personal.
  • Use the progress tracker on the left to jump between steps without losing saved data.
Tip: Ensure the NRIC is correct. It locks further down-stream processing and is referenced by HR reports.
Personal Information screenshot

Academic Qualifications

Log every academic credential, upload transcripts, and specify grading information.

  • Click "Add Qualification" to insert entries for SPM, Diploma, Bachelor, Master, etc.
  • For each entry, specify institution, field, award date, and attach supporting documents.
  • Use the grade dropdowns sourced from Settings -> Education Grades to normalise results.
Tip: Large transcript files should be compressed before upload to stay below the configured limit.
Academic Qualifications screenshot

Competencies & Skills

Highlight languages, IT skills, professional certifications, and other competencies.

  • Document languages with proficiency per skill (reading, writing, speaking).
  • List professional certifications and licences, including expiry dates where relevant.
  • Add technical skills (software, machinery, etc.) to help HR identify fit for specialised roles.
Tip: The language and skill dropdowns draw from Settings. Contact HR if a value is missing.
Competencies & Skills screenshot

Employment History

Record employment experiences, job responsibilities, and supervisor details.

  • Use separate entries for each employer, starting with the most recent.
  • Include job title, department, duration, and core responsibilities for each position.
  • Indicate whether HR may contact the employer for reference checks.
Tip: Attach service letters where required. PDF format works best for multiple pages.
Employment History screenshot

Reference Information

Provide referees that HR can contact during background checks.

  • At least two referees are recommended. Each needs a full name, relationship, and contact info.
  • Toggle the consent checkbox if the referee agreed to share their data.
  • Use the reorder handles if the form enforces a "primary" reference.
Tip: Choose referees who have worked with you recently to increase approval speed.
Reference Information screenshot

Upload Resume & Documents

Centralised screen for uploading resumes, cover letters, and mandatory attachments.

  • Click the upload card to attach the latest resume (PDF or DOCX).
  • Optional supporting documents such as cover letters or portfolios can also be added here.
  • The progress badge confirms when the file is stored via ApplicantController@store_resume.
Tip: Use clear filenames (e.g., Resume_Nadia_2024.pdf) to help HR identify the file quickly.
Upload Resume & Documents screenshot

Applicant Declaration

Final confirmation stage before submission.

  • Review every step's completion indicator on the left-hand progress tracker.
  • Read the declaration text carefully and tick the acknowledgement checkbox.
  • Click "Submit Application" to lock the form. Editing afterwards requires HR to re-open the steps.
Tip: Download the PDF summary immediately after submission for your personal records.
Applicant Declaration screenshot